


Hi! Welcome to the Help Desk
We know, that new tools are fun and you may have skimmed over some emails or skipped some of the setup videos before trying to add your tasks and team and then hit a road block.
More than likely – that is why you are here.
These 5 steps on the business settings are very important step, make sure you set this up first, only then you will be able to start assigning tasks.
CanTicket Support
How do I set up my business in CanTicket?
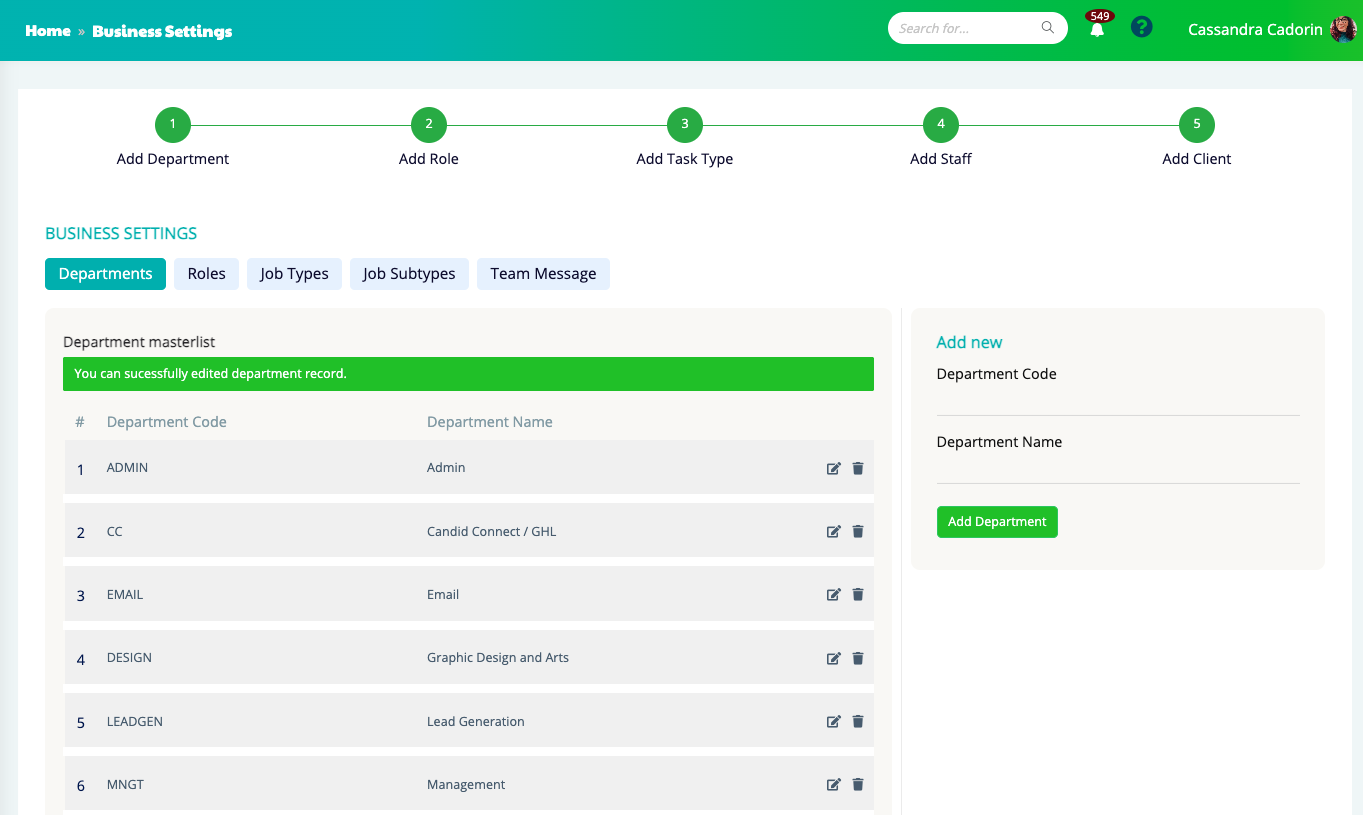
Begin by heading to Business Settings. Set up your Departments, Roles, Task Types, Team Members, and Clients. This foundational setup ensures tasks and projects are organised properly from day one. Look for the view above.
Do I have to give my clients access to CanTicket?
No. You can choose whether or not a client has access. By default, clients are not granted login access. You can manage this setting in each client’s profile.
How do I get my team to use CanTicket effectively?
Keep it simple. CanTicket is designed to be intuitive, so your team can focus on completing tasks, not navigating software. Assign roles and permissions clearly, and use the task dashboard daily.
How do I create a task?
Go to the Tasks section and click on + New Task. For detailed guidance, check out the video walkthrough under Help > Setting Up for Success.

Can I automate task scheduling or prioritisation?
Very soon!! Our AI-powered scheduler (available in select plans) helps you assign, reschedule, and prioritise tasks based on deadlines, workloads, and team capacity.
Can I restrict what staff can see or do?
Yes. You can control access by assigning roles with specific permissions under Staff Settings.
How do I invite a new team member?
Go to Team Settings > Add Staff, fill in their role, permissions, and department. An email invite will be sent automatically.
How do I know if my team is profitable?
The modern and designed interface allows businesses to set up clients and teams with department roles and charge rates for constant visibility of project expenses that are tangible and human.
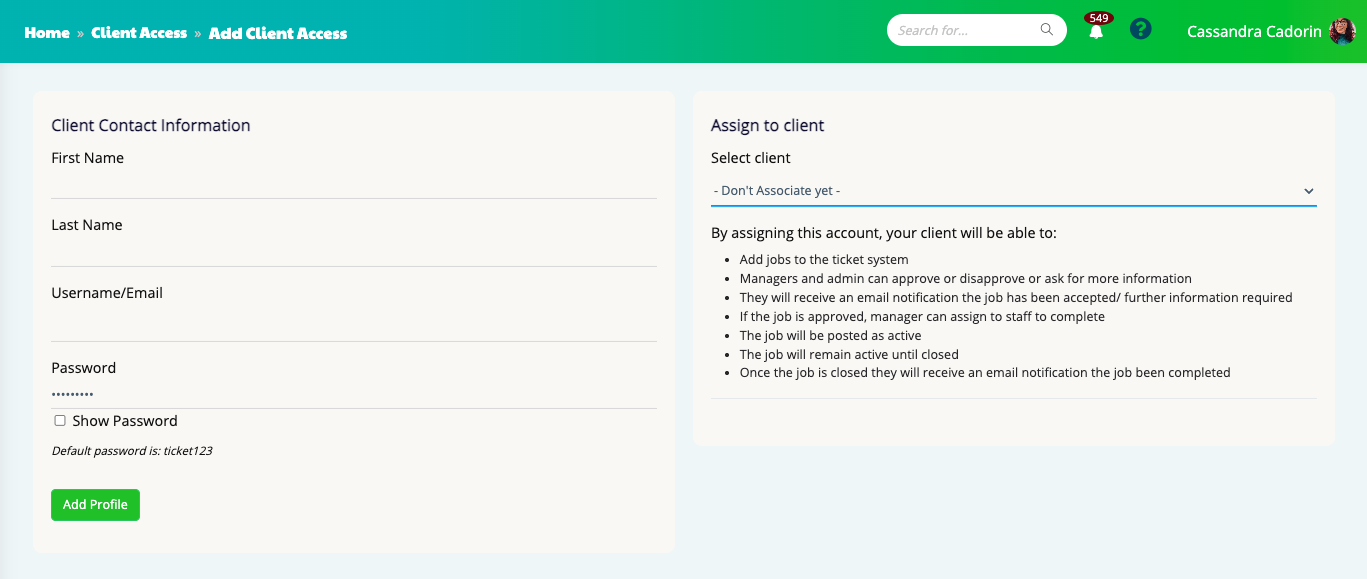
Giving access and creating clients are different processes
First you need to create them as a client in the main navigation. Client access, allows the client to request work and provide feedback using CanTicket.
To do this in the business setting under your profile icon click client access, then you will populate this screen here. This will make a mini CRM so you can manage your clients contact details, notes, and overall budgets.
Where do I create and edit my client profiles.
Begin by heading to Business Settings. Set up your Departments, Roles, Task Types, Team Members, and Clients. This foundational setup ensures tasks and projects are organised properly from day one. Look for the view above.
How can I customise CanTicket with my brand?
Upload your business logo and adjust branding elements under the Business Information section. This will personalise the workspace for your team and client views.
Can I customise the CanTicket subdomain?
Subdomain customisation is coming soon. Stay tuned for updates.
Billing & Integration
What’s the cancellation policy?
Cancellations require 30 days’ notice and are processed on the 1st of each month.
Can I integrate payroll with CanTicket?
Not yet, but it's on our roadmap. CanTicket records, leave requests and time clocks. In the meantime, payroll reports can be exported in CSV format for manual processing.
Is CanTicket available on a monthly and annual plan?
Yes. We offer both billing options. Annual plans come with cost savings and priority support.
General Platform Info
Is CanTicket mobile-friendly?
Yes. CanTicket works seamlessly on desktop, tablet, and mobile so your team can stay on track wherever they are.
Does CanTicket have a support team?
Yes. You can reach our Australian-based support team via email or live chat inside the platform.
© 2026 Copyright. Software by Candid Marketing